
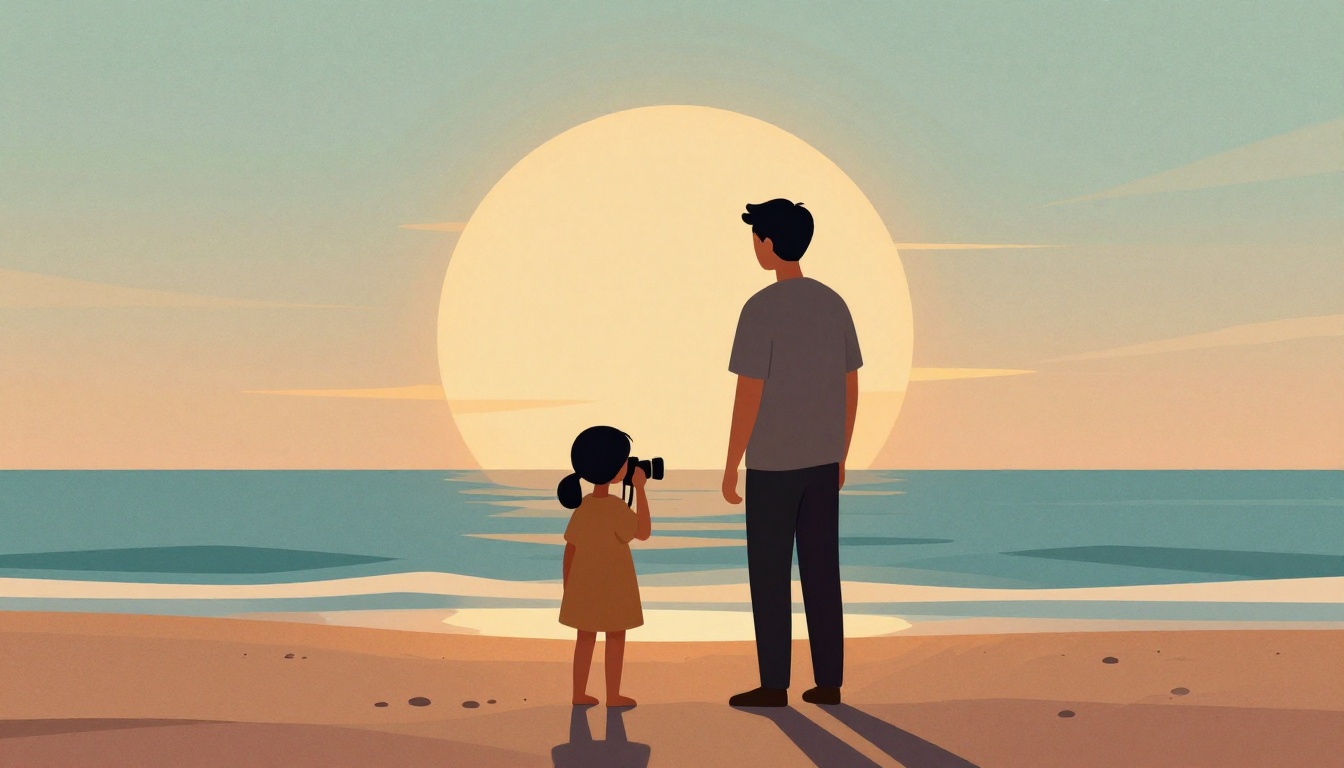
Which of the following is the best way to position your subject for a dreamy backlit beach portrait?
Select one answer.
The problem with harsh beach light
Shooting portraits at the beach often means battling harsh midday sun that creates unflattering shadows and squinting subjects. But when you flip the script and place the sun behind your subject — a technique called backlighting — you unlock a soft, dreamy glow that elevates your images instantly. Backlighting wraps your subject in a warm halo, adds depth, and creates a romantic, ethereal feel that clients love.
When to shoot for the best backlight
Timing is everything. The most magical window for backlit beach portraits is golden hour — roughly 30–60 minutes after sunrise or before sunset. During this time, the sun is low and the light is soft, casting a warm layer of color over your subject source. For sunset sessions, start shooting about 60–90 minutes before sunset to capture the transition from soft directional light to the intense golden glow of the last 20 minutes source.
If you're on the East Coast, sunrise sessions offer a fresher, less intensely colored light, while sunset delivers warmer, more dramatic tones. Both work beautifully for backlighting.
Positioning your subject and yourself
The classic mistake is placing the sun directly behind your subject in a straight line with your camera. This often results in a dark face or a washed-out sky. Instead, position the sun slightly off to one side — about 45 degrees to the right or left of your subject source. This gives you those glowy highlights without excessive haze or flare.
Another pro tip: walk slightly away from the straight line of sun–subject–camera. This reduces lens flare and maintains contrast while still keeping the backlit effect source.
Camera settings for backlit beach portraits
Shooting in manual mode gives you full control. Here are recommended starting points:
- ISO: Keep it as low as possible — ISO 100 or lower — to minimize noise.
- Aperture: Shoot wide open (e.g., f/2.8 or f/4) to let in light and create a soft background blur.
- Shutter speed: Use a fast shutter speed (around 1/2000) to avoid blowing out highlights in bright conditions source.
- Metering: Use spot metering on your subject's face to ensure proper exposure, even if the background gets brighter.
If you want detail in your subject, expose for their face and let the sky blow out slightly — that's often part of the dreamy look. For silhouettes, expose for the sky.
Using natural reflectors and fill flash
The beach provides two excellent natural reflectors: sand and water. Both bounce light back onto your subject, filling in shadows and adding a clean boost of light source. Position your subject near the waterline to take advantage of this.
When the sun is still high or you need extra light on the face, use a reflector held by an assistant or a fill flash (speedlight). Adjust flash exposure compensation to add just enough light without overpowering the natural glow.
Managing lens flare and focus
Lens flare can reduce contrast and make your image look washed out. To minimize it, use a lens hood or your hand to shade the lens. But don't avoid flare entirely — a little bit can add to the dreamy, romantic feel.
Autofocus can struggle in strong backlight. Switch to single-point autofocus and aim for the subject's eye. If your camera still hunts, focus manually or use back-button focus.
Actionable checklist for your next beach shoot
- Schedule your session during golden hour (30–60 min after sunrise or before sunset).
- Scout a location with natural reflectors (sand, water, rocks, jetties).
- Position the sun 45 degrees off to the side of your subject.
- Set your camera to manual mode: ISO 100, aperture f/2.8–f/4, shutter speed 1/2000.
- Use spot metering on your subject's face.
- Bring a reflector or speedlight for fill light if needed.
- Use a lens hood to control flare.
- Focus manually or use single-point AF on the eye.
Quiz: test your backlighting knowledge
Which of the following is the best way to position your subject for a dreamy backlit beach portrait?
- Place the sun directly behind your subject in a straight line with your camera.
- Position the sun about 45 degrees to the right or left of your subject.
- Keep the sun in front of your subject to avoid lens flare.
How the Featured Expert Can Help
Mastering backlighting takes practice, but working with an experienced professional can fast-track your results. Coastal Heirloom Studio is a boutique photography business based in Panama City Beach, Florida, specializing in luxury beach portraits for families, couples, and events. Their team, led by Michael Evans and Kristy Evans, has deep experience handling the unique challenges of beach light and can help you create heirloom-quality images that glow.