
What is open shade in photography?
Select one answer.
Why beach portraits go wrong in direct sun
Midday sun on the beach is the hardest light you will ever work in. It is overhead and harsh, it carves dark shadows under the eyes and chin, and it makes your subjects squint in every frame. That is the classic "raccoon eyes" problem, and it is the single most common reason beach portraits look unflattering. The fix is not more gear. It is moving your subject into shade.
What open shade actually is
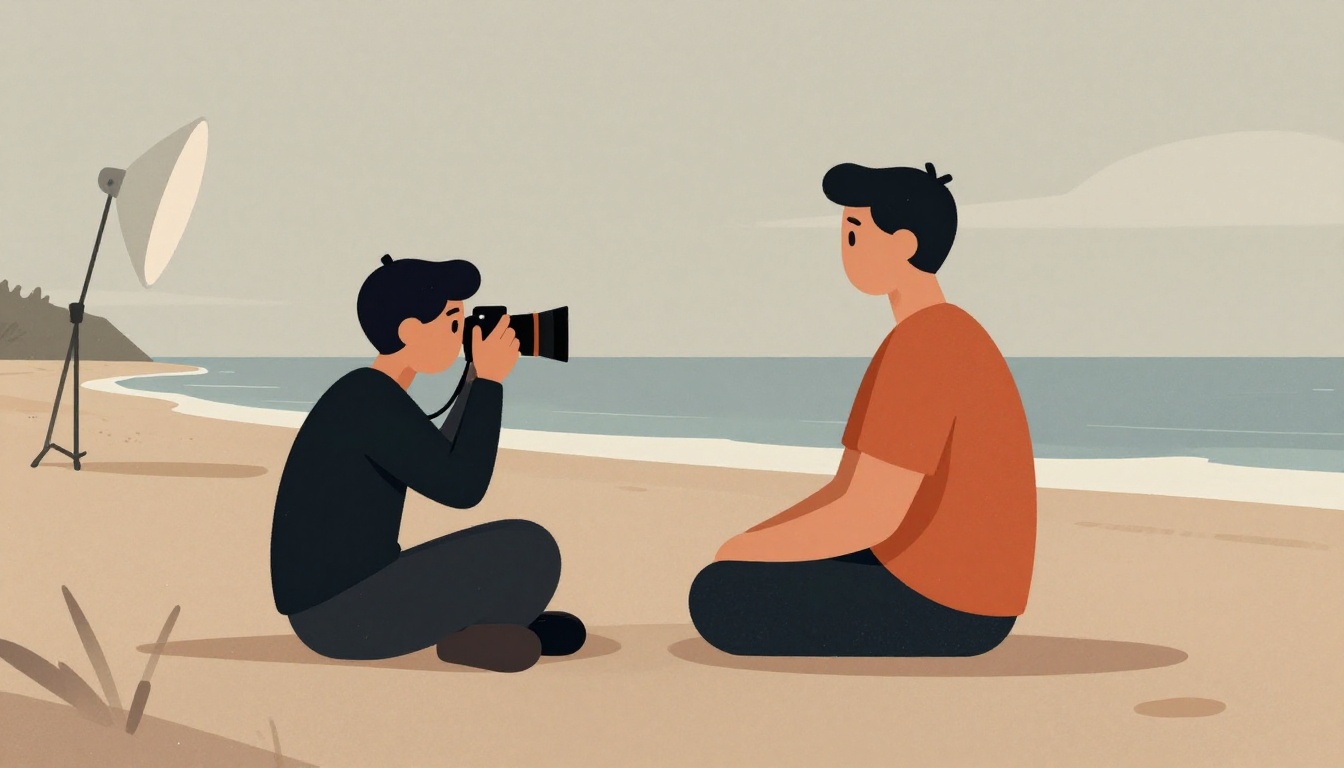
Open shade is anywhere that is shaded from direct sunlight but still has ambient light around it. The key word is open: you are not deep inside a dark covered area, you are at the edge of shade where light still wraps around your subject. The "open" part also refers to direction. Your subject stands in the shade and faces toward the light, with your back to the light source. That is open shade photography done correctly.
If your subject is in shade but backlit from sunlight behind them, that is closed shade, and it is not what you want. In open shade, the light is flat and soft, there is no direct light falling on the skin, and you get catchlights in the eyes because your subject faces the light. That combination is what makes skin look smooth and natural.
Set white balance before you shoot
Shade is a cooler color temperature than open sun, so your camera will read it as blue unless you correct it. This is the step most photographers skip, and it is the one that ruins skin tones. The basic rule is to match white balance to your surroundings: if you are in shade or cloudy conditions, use the shade or cloudy preset rather than leaving it on auto.
Auto white balance is a particular problem with deeper complexions. Cameras often misread the warmth and richness of darker skin, cooling it down too much and producing an unnatural, grayish look. Setting white balance manually in-camera makes all the difference, because if white balance is off, no amount of editing fully brings back the subject's natural skin tone. For precise results, use a gray card or color checker to set an exact custom white balance, then adjust slightly for creative effect once accuracy is locked in.
Watch for color spill from the beach itself
Every surface in a photograph reflects light, and on the coast your biggest offenders are sand and nearby vegetation. Reflected light takes on the color of whatever it bounces off, so a subject standing near green foliage can pick up a green or yellow cast on the jawline and neck. This is called color spill, and it is happening whether you notice it or not.
Before you shoot, look at what surrounds your subject. Sand reflects warm light, which is usually helpful. Green foliage and colored walls are not. If you cannot move, note the cast and correct it in post by reducing saturation in the greens and yellows rather than pushing the whole image warmer.
A practical open shade checklist
- Find shade with light all around it, not a dark tunnel or covered walkway.
- Position your subject facing the light, with your back to the light source.
- Confirm catchlights in both eyes before you shoot a single frame.
- Switch white balance off auto and onto the shade or cloudy preset.
- Use a gray card or color checker for an exact custom reading.
- Check for green or yellow spill from foliage and reposition if possible.
- Keep exposure from clipping the skin; nothing overexposed on skin is the ideal starting point.
- Add a reflector low and angled upward at about 45 degrees if shadows still feel muddy.
When to add fill light
Open shade is soft, but it can still leave the face slightly flat or the shadow side too dark, especially with darker skin tones where you want to preserve depth and dimension. A 5-in-1 reflector solves this without adding flash complexity. Use the silver side for more punch, or layer the white diffusion panel over it to soften the fill. Position it low and angled upward at about 45 degrees, held just outside the frame. One reflector and no extra power source takes you from muddy shadows to clean, flattering light in under a minute.
Editing skin tones without wrecking them
Once white balance is right in-camera, editing gets much easier. The colors captured in a photo are influenced by both exposure and white balance, so if the frame is underexposed or overexposed, skin tones will read too dark or too bright to look true to life. Fix exposure first, then color. If the overall tone of the image is too cool or blue, warm skin tones will appear cooler than they are in reality. Identify your subject's overtones and undertones before you grade, and grade to honor the skin color that is actually there rather than a preset look.
How the Featured Expert Can Help
Coastal Heirloom Studio is a boutique photography business based in Panama City Beach, Florida, specializing in luxury beach portraits for families, couples, and events. They offer personalized sessions and professional editing, with a small, experienced team led by Michael Evans and Kristy Evans. If you want portraits made by photographers who work this light every day, you can visit Coastal Heirloom Studio.
Quick quiz
Test what you just read before your next session.
{"question":"What is open shade in photography?","options":["Anywhere shaded from direct sunlight that still has ambient light around it","A fully enclosed dark area with no ambient light","Direct overhead sunlight filtered through a lens hood"],"correctIndex":0}