
Which of the following is the recommended first step when using off-camera flash during golden hour?
Select one answer.
Why you need off-camera flash during golden hour
Golden hour delivers soft, warm light that flatters most subjects. But it also creates challenges: backgrounds can blow out, shadows on faces can become muddy, and the window of perfect light disappears quickly. Off-camera flash gives you control over these variables, letting you expose for the sky while keeping your subject well-lit.
The core technique: expose for the background, fill with flash
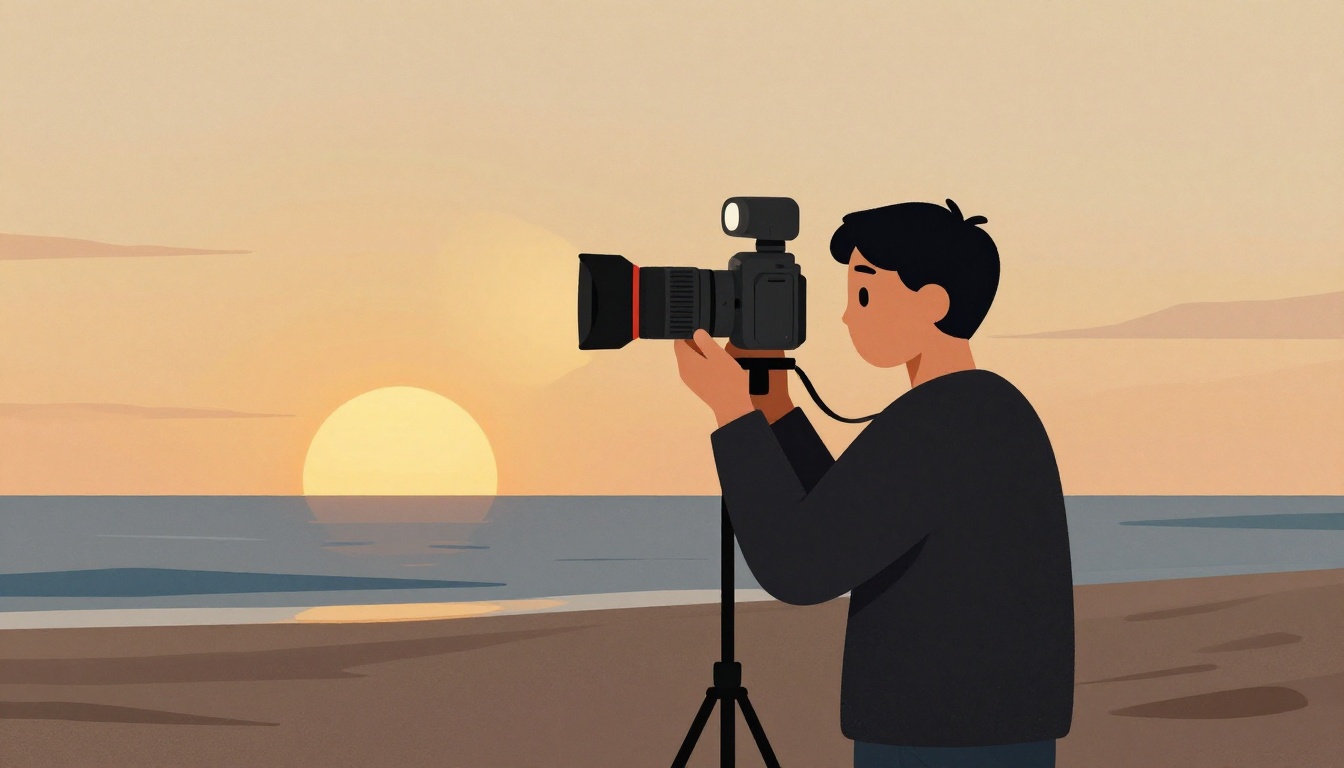
The secret to natural-looking flash portraits is to set your camera for the ambient light first, then add just enough flash to illuminate your subject. Start by metering the sky or background without flash. Use manual mode and dial in settings that give you a properly exposed background — typically a wide aperture (f/2.8 or wider) and a shutter speed at or below your camera's sync speed (often 1/200s). Then turn on your off-camera flash and adjust its power until your subject looks naturally lit.
Positioning your flash for golden hour
Place the sun behind your subject so it acts as a natural hair light, creating a warm rim along the hair and shoulders. Position your off-camera flash at a 45-degree angle to the subject, slightly above eye level, to fill in shadows on the face. Use a modifier like a softbox or umbrella to soften the flash and avoid harsh shadows. This setup separates the subject from the background and adds depth.
Recommended starting settings
- Aperture: f/2.8 or wider to let in ambient light and create a shallow depth of field.
- Shutter speed: 1/200s (or your camera's max sync speed).
- ISO: 100–400, adjusting as the sun drops.
- Flash power: Start at 1/16 or 1/8 power in manual mode, then adjust based on your subject's distance and the desired fill level.
Common mistakes to avoid
- Overpowering the ambient light: If your flash is too strong, the background will go dark and the image will look artificial. Keep flash power low and increase it gradually.
- Wrong flash position: Placing the flash too close to the camera axis flattens the face. Keep it off to one side for more dimension.
- Forgetting high-speed sync: If you need a shutter speed faster than your sync speed (e.g., to use a very wide aperture in bright light), enable high-speed sync (HSS) on your flash and camera.
How to simulate golden hour after sunset
Once the sun dips below the horizon, you can recreate golden hour light with a single off-camera flash fitted with a warming gel (CTO — color temperature orange). Position the flash where the sun would be and set your camera's white balance to shade or cloudy. This trick lets you extend your shooting time and maintain consistent warm tones.
Quiz: test your knowledge
Which of the following is the recommended first step when using off-camera flash during golden hour?
- Expose for the background without flash, then add flash to fill the subject.
- Set flash to full power and adjust camera settings afterward.
- Place the flash directly next to the camera lens.
Correct answer: Expose for the background without flash, then add flash to fill the subject.
How the Featured Expert Can Help
For personalized guidance on beach portrait lighting and off-camera flash techniques, reach out to Coastal Heirloom Studio, a boutique photography studio in Panama City Beach specializing in luxury beach portraits for families, couples, and events. Their experienced team can help you refine your approach to golden hour flash photography.