
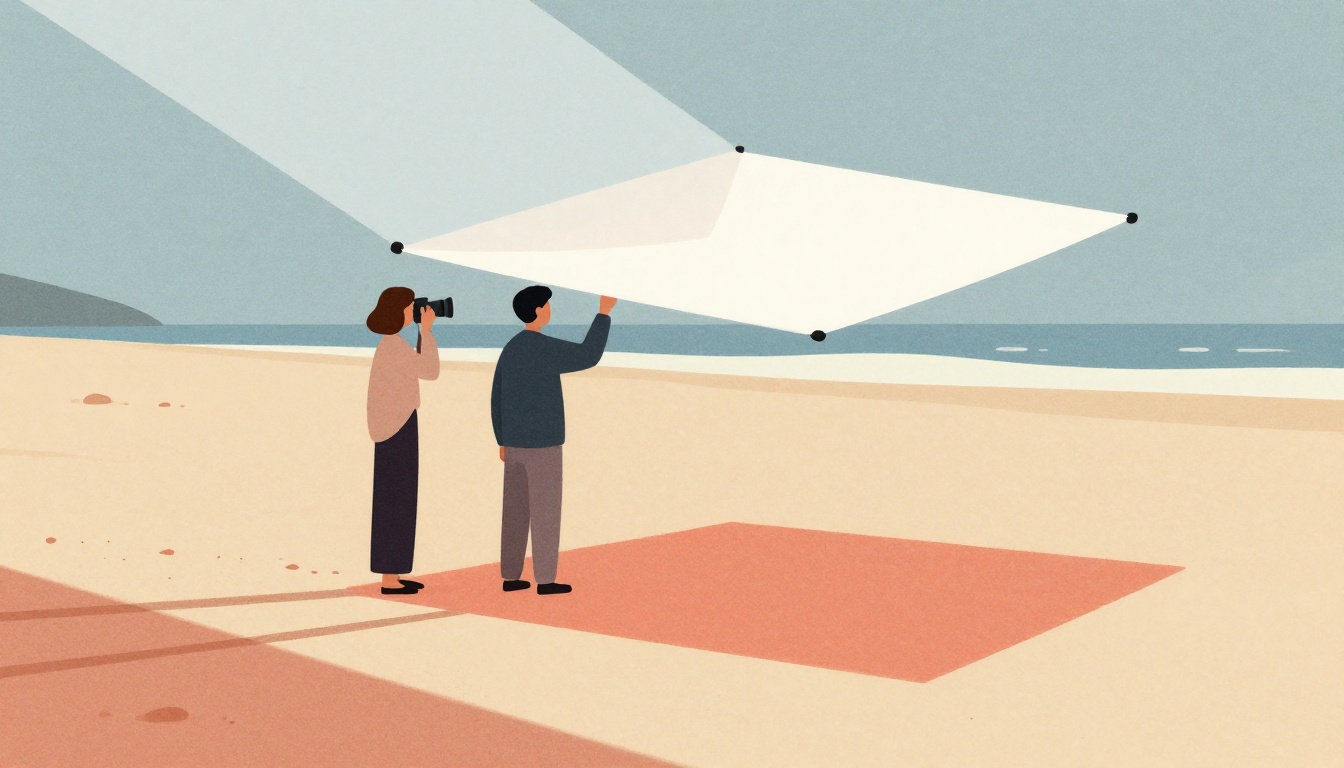
Midday sun on the beach is the hardest light most portrait photographers will ever face. The sun sits almost directly overhead, carving deep shadows into eye sockets and under noses, while bright sand and water bounce so much light back that your camera meter gets fooled by one to two stops and underexposes your subject. The good news: you don't have to reschedule. With the right positioning, modifiers, and exposure choices, harsh midday light becomes workable — even dramatic.
According to ViewBug's guide to midday beach photography, how much can bright sand and water underexpose subjects?
Select one answer.
Start by understanding what you're fighting
Two problems stack on top of each other at the beach. First, the overhead sun creates hard shadows on the face. Second, the highly reflective sand and water push your meter toward underexposure, so faces go dark while the sky and water blow out. According to ViewBug's guide to midday beach photography, bright sand and water can underexpose subjects by 1–2 stops, and the overhead sun produces deep eye-socket shadows that need either open shade or fill flash to solve.
Once you accept those two facts, every technique below is just a way of managing them.
Reposition your subject before you touch your camera
The single fastest fix is to stop shooting into the sun. Turn your subject so the sun is behind them or off to the side. Rangefinder's guide to harsh midday portraits suggests instructing your subject to face the direction of their shadow so the sun sits behind them — this creates the backlit halo look people usually associate with golden hour, and it keeps direct sun off the face so your subject isn't squinting.
Then have them rotate slowly left and right until you find the sweet spot where the hair is rimmed by light but the face still reads evenly. Watch the shadows on the face, not the background.
Soften the light with diffusion or a natural bounce
If you can carry a modifier, a shoot-through umbrella or translucent diffuser turns the sun from a spotlight into a soft source. V-Flat World's breakdown of midday portrait lighting notes that diffusion alone isn't enough — because the sun is overhead, you still need to lift the chin or add a reflector underneath to bounce light back into the eyes.
If you don't have a diffuser, use the beach itself. White sand is a giant natural reflector. The Click Community's beach harsh-light guide recommends having subjects sit with their backs to the sun and letting the sand bounce fill the face. Position them close to the brightest sand for the softest fill.
One warning from Digital Photography School's midday portrait tips: don't lay a reflector flat on the ground in front of your subject. That bounces light straight up and creates odd, unflattering shadows under the nose and chin. Angle it upward at roughly 45 degrees instead.
Nail your exposure settings
- Shoot in manual mode. Your camera will try to expose for the bright sand and sky, leaving faces dark. Take control.
- Use spot metering on the face. Point the meter at your subject's skin and let that drive exposure. The sky and sand will be brighter, but your subject will be correctly exposed.
- Add positive exposure compensation of roughly +1 to +1.5 stops when shooting against bright backgrounds.
- Keep ISO low and shutter speed high. On a bright beach day, shutter speeds around 1/2000s are common at low ISO, which also helps freeze motion.
- Try a wider aperture to soften skin texture and reduce the harshness of the light on the face.
Use a polarizing filter
A polarizing filter is the most useful single tool for midday beach work. It cuts glare off water and wet sand, deepens the sky, and reduces the washed-out look that bright reflective surfaces create. It won't fix bad positioning, but it makes everything downstream easier.
Lean into the drama when you can't avoid it
Not every midday portrait has to look like golden hour. The Click Community's midday guide argues for embracing full sun as a spotlight — letting colors pop and using the high contrast as part of the story rather than fighting it. If your subject is comfortable and the shadows are intentional, hard light can look bold and editorial rather than unflattering.
A quick pre-shoot checklist
- Check the sun's position and pick your shooting angle before your subject arrives.
- Position your subject with the sun behind or to the side, then fine-tune with small rotations.
- Set manual mode, spot metering, and +1 to +1.5 stops of exposure compensation.
- Add diffusion overhead or a reflector angled up at 45 degrees if you have one.
- Use the sand as a natural bounce when you don't.
- Attach a polarizing filter to control glare and sky.
- Watch the eyes — if they're squinting, reposition before you shoot.
How the Featured Expert Can Help
Coastal Heirloom Studio is a boutique photography business based in Panama City Beach, Florida, specializing in luxury beach portraits for families, couples, and events. They offer personalized sessions and professional editing, with a small, experienced team led by Michael Evans and Kristy Evans. If you'd rather hand the hard light off to someone who works in it regularly, you can learn more at Coastal Heirloom Studio.